

SCT 17
Help Center
The brief instructions (one-pagers) can be found in the Bosch Download Library: https://www.downloads.bosch-automotive.com
The following hyperlinks lead directly to the manufacturer-specific brief instructions:
---Separator---
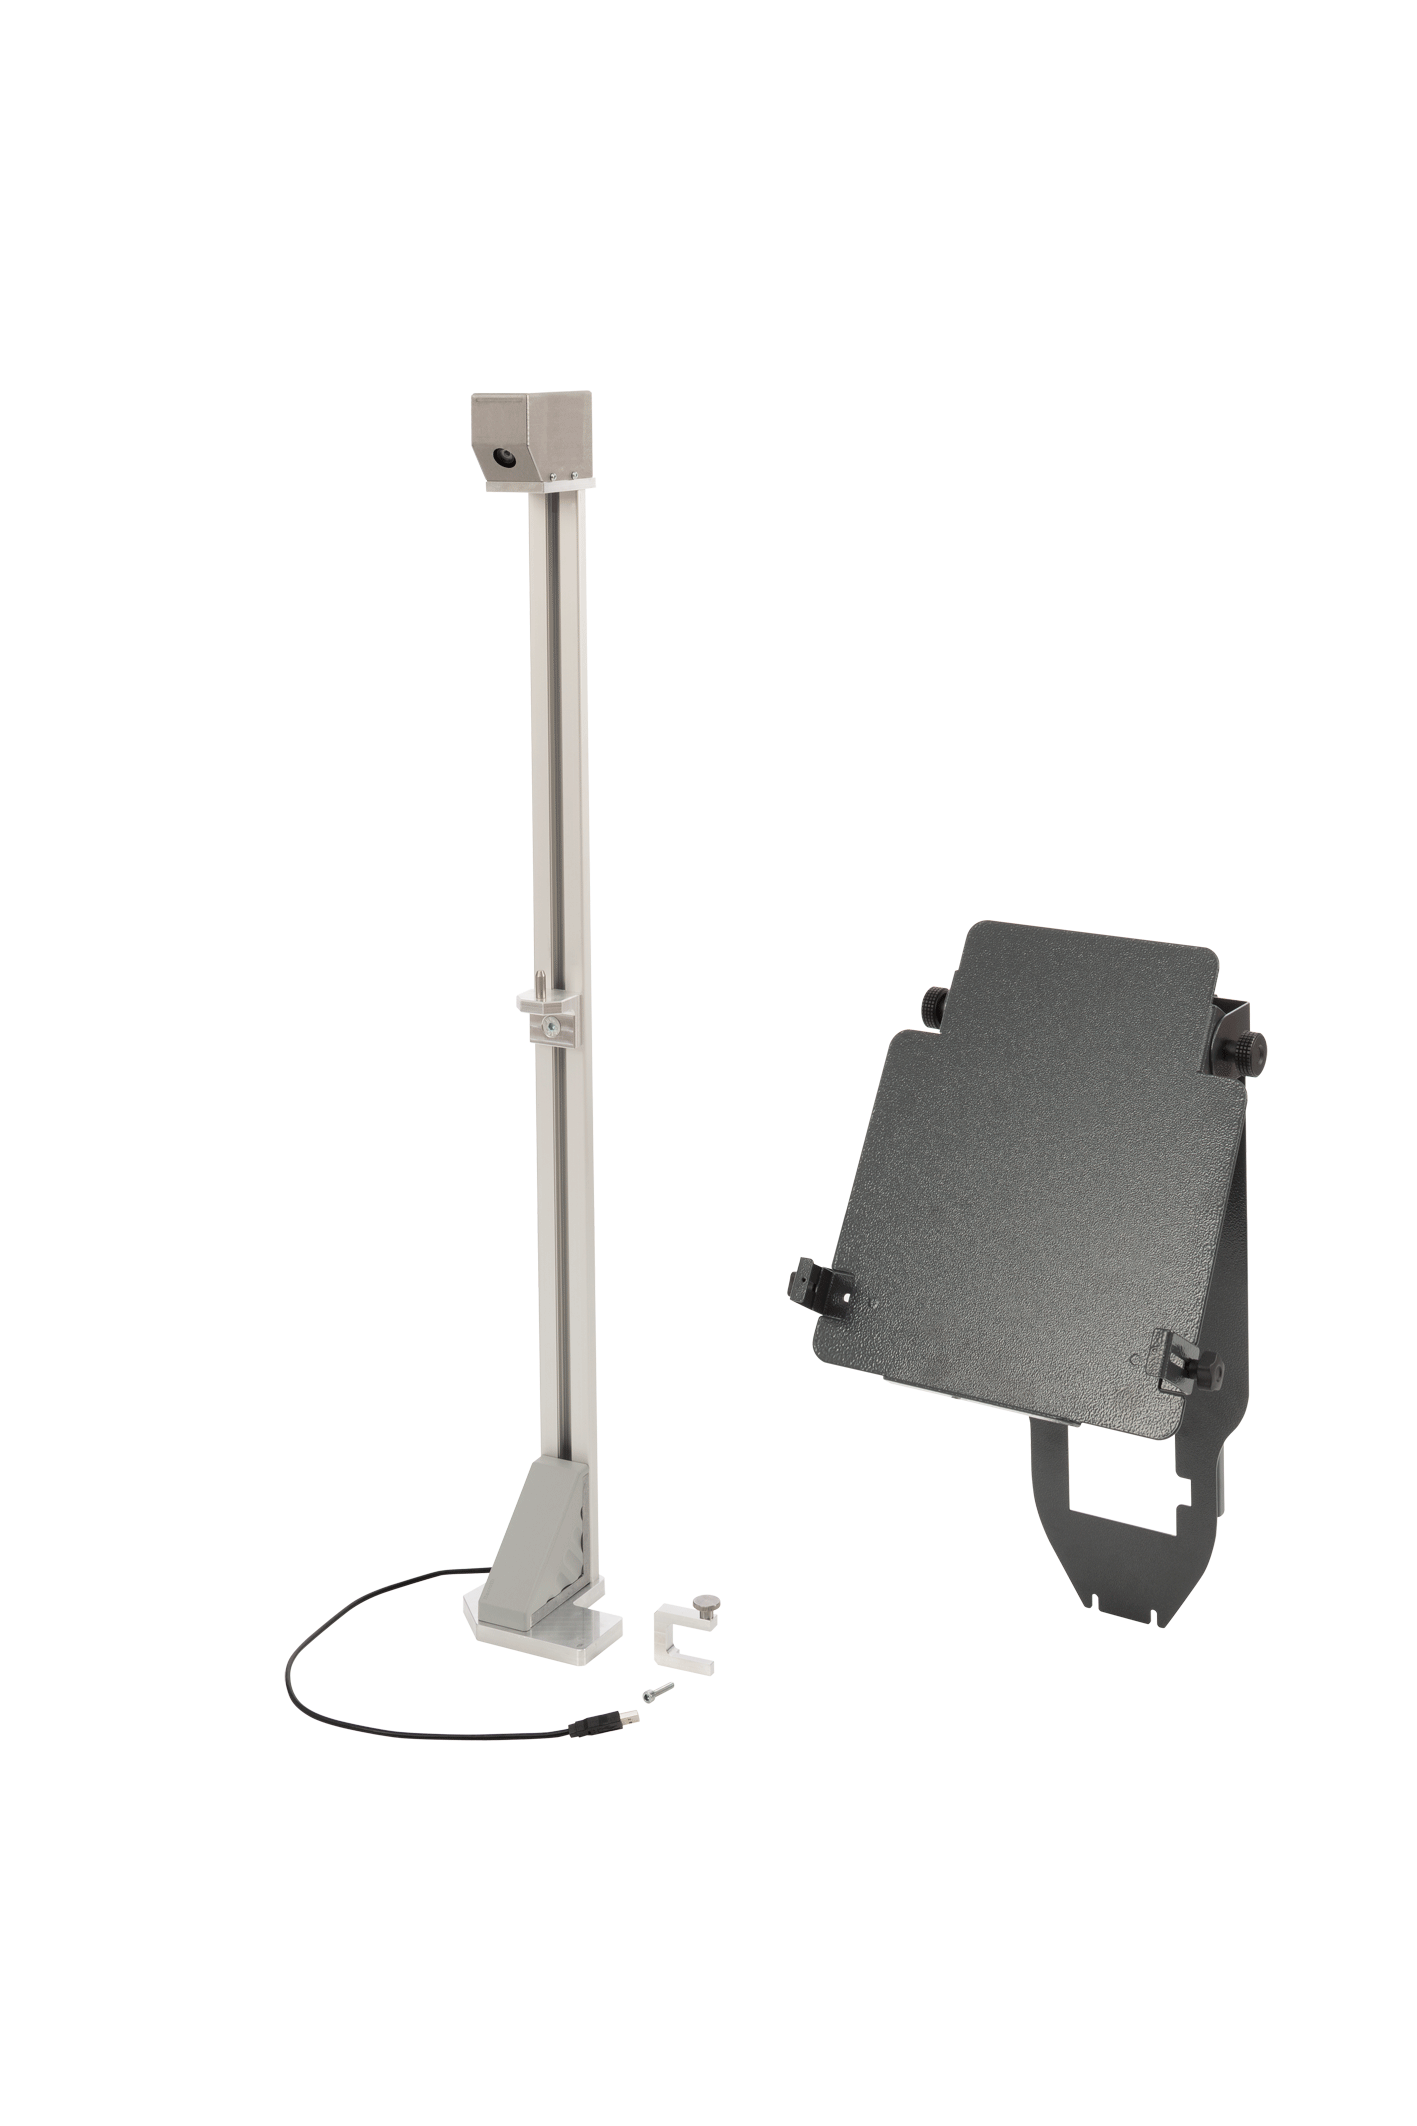
The camera and reference board are used for distance measurement. The camera measures the distance of the adjustment device from the reference board.
Distance measurement is only possible if the reference board is fully visible in the camera image.
Distance measurement from the wheel hub

Select the wheel hub as reference point for distance measurement in Bosch ADAS Positioning.
Position the alignment aid with reference board for distance measurement at the same height as the wheel hub.
The reference board for distance measurement will be highlighted in Bosch ADAS Positioning as soon as it is recognized.
Bosch ADAS Positioning will indicate the current distance.
---Separator---
Distance measurement from the bumper

Select the bumper as reference point for distance measurement in Bosch ADAS Positioning.
Position the alignment aid with reference board for distance measurement at the same height as the bumper.
The reference board for distance measurement will be highlighted in Bosch ADAS Positioning as soon as it is recognized.
Bosch ADAS Positioning will indicate the current distance.
---Separator---
A virtual line (1) is used for aligning the adjustment device with the geometrical axis. The virtual line is displayed in the camera image in Bosch ADAS Positioning. The virtual line must run through two central reference points on the vehicle, for example the manufacturer's badge (2) on the front of the vehicle and the antenna on the roof of the vehicle (3). The zoom-in views will be displayed if Detail view is enabled in the settings.

---Separator---
Alignment with the geometrical axis
Align the virtual line with the badge and the antenna on the roof of the vehicle to align the adjustment device with the geometrical axis of the vehicle.

---Separator---
Start Bosch ADAS Positioning.
Use the USB connecting cable to connect the camera to the laptop / tablet.
The camera image will be displayed.
Position the entirety of the QR code inside the green box in the camera image.
The QR code will be scanned.
The camera will be initialized.
The serial number of the camera will be saved to "."
---Separator---
The reference board is not placed within the camera image in its entirety.
Make sure the reference board is fully visible in the camera image.
---Separator---
The reference board is obstructed by foreign bodies, for example by a charging cable.
Make sure no foreign bodies obstruct the reference board.
---Separator---
Yes, Bosch ADAS Positioning supports the use of multiple cameras with one laptop / tablet.
Each camera requires a one-time initialization by Bosch ADAS Positioning.
The serial number of the camera will be saved to " ."
."
The serial number of the camera to be used for alignment must be selected under "
."
---Separator---
Yes. The same camera can be used on multiple laptops / tablets with Bosch ADAS Positioning.
The camera requires a one-time initialization on each laptop / tablet where it is to be used.
The serial number of the camera will be saved to "Settings."
The serial number of the camera to be used for alignment must be selected under "
."
---Separator---
The "User-defined" reference point is intended for vehicle manufacturers who specify that distance measurement must take place directly from the position of the front camera system. Therefore, a measurement using the reference board on the alignment aid is not possible. A second person must be present to position the reference board precisely at the front camera system during distance measuring.
Select the "User-defined" reference point.
Have the second person position the reference board at the height of the front camera system.
Position the adjustment device at the required distance.
---Separator---
Select the desired language under "
.
Use <>to confirm the changes.
---Separator---
The detail view is used to enlarge selected areas of the camera image displayed. That way, the vertical line can be aligned more precisely with the reference points on the vehicle.
Activate / deactivate detail view under "
.
Use <>to confirm the changes.
---Separator---
The serial numbers of all initialized cameras are shown under "
.
---Separator---
Select the serial number of the desired camera under "
.
Use <>to confirm the changes.
---Separator---
Select the desired line color under "
.
Select the desired line thickness under "
.
Use <>to confirm the changes.
---Separator---
Select the desired color under "
.
Use <>to confirm the changes.
---Separator---
Robert Bosch GmbH 2019, all rights reserved